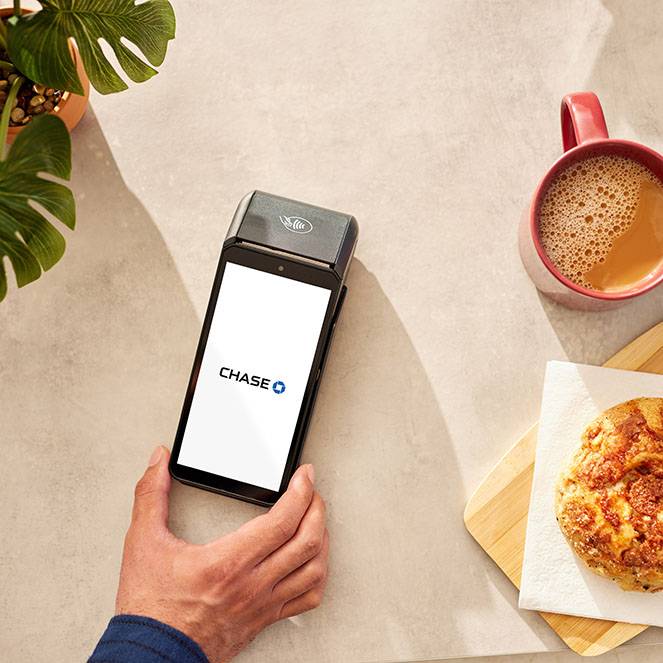
Meet your Chase POS Terminal
The Chase POS Terminal is the latest all-in-one point of sale terminal that gives you the ability to process payments with debit or credit cards, manage a catalogue and inventory and view reporting to help you run your business smoothly. Chase POS allows you to manage your account directly on the device or online with the Merchant Portal.
Terminal features
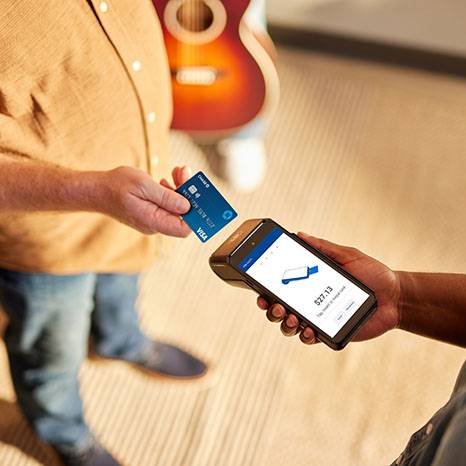
See what you can do with the Chase POS Terminal
- Accept card payments: contactless, chip and pin, swipe and manual entry
- Send digital receipts through text or email
- Build and manage your product catalogue
- Manage tips, taxes and discounts
- View transactions and reports
Unboxing your Chase POS Terminal
You just received your terminal. Now what?
1
Power on and power up
Hold the power button for 3-5 seconds located on the left hand-side of the device.
Make sure your terminal is charged before performing any actions. To complete setup and activation, you’ll need over 30% battery.
2
Connect to Wi-Fi
- Place your finger at the top of the screen and swipe down
- Press the gears icon
- Enter the password 350000 and press OK
- Choose Network & Internet, then toggle the Wi-Fi switch
- Choose your network, enter the password and tap Connect
3
Activate your device
Authenticate your email address by following the link in your welcome email.
Use the temporary password sent to you in a separate email to log in and set up your own password.
Using your Chase POS Terminal and Merchant Portal
There are different account management functions you can perform on your device and online. Refer to the chart below to see what you can do.
| Functions | Chase POS Terminal | Merchant Portal |
|---|---|---|
| Payment processing |
|
|
| Automated tax management |
|
|
| Inventory management |
|
|
| Product catalogue |
|
|
| Reporting |
|
|
| Digital receipts |
|
|
| User and staff management |
|
|
| QuickBooks integration |
|
Chase POS Terminal FAQ
Explore the frequently asked questions below to get set up and troubleshoot any issues.
To turn on the Chase POS terminal, press and hold the power button for 3-5 seconds. The power button is located on the left hand-side of the device. The longer button is the volume and the smaller one above is the power.
Note: If using your terminal for the first time, make sure it is fully charged before use. You will not be able to complete setup and activation with less than 30% battery (even if the device is plugged in).
- Power on your terminal
- Place your finger at the top of the screen and swipe down
- Press the gears icon
- Enter the password 350000 and press OK
- Choose Network & Internet, then toggle the Wi-Fi switch
- Choose your network, enter the password and tap Connect
- Once connected, exit by pressing the small white circle at the bottom of the screen and tap on the Chase POS app to come back to the sign-in screen
Note: The Chase POS Terminal should remember your previous network selections, so once you set up the wireless network settings, you shouldn't need to do it again unless you change locations.
Once your account has been created, you will be sent a welcome email containing a link to validate your email address. You will also be sent a separate email with a temporary password which you will need when setting up your own password.
- Click on the link from the first email to validate your email address
- The link will open up a browser and load a screen that says Email Authentication in Progress
- Enter the temporary password, sent in a separate email, to log in and set up your own password
- You will need to accept the Terms of Service and choose Next
- Choose your preferred Multi-Factor Authentication
- This additional layer of security will request a verification code sent by text message
- You can also use an authentication app like Google Authenticator or Microsoft Authenticator
- Follow the steps and Submit
- Click OK after the confirmation message Account Setup Complete is displayed
You should be all set to log in to your Chase POS Terminal and Merchant Portal.
- Power on your terminal
- Enter your email address and the password you created, then click Sign in
- You may be asked to enter an OTP (one-time password). This is a 6-digit code sent via text message or found in your authenticator app, depending on what you chose for your Multi-Factor Authentication
Note: When the Remember me checkbox is ticked, your email address will be prepopulated the next time you sign in from the same device.
Chase POS provides you access to an online Merchant Portal where you are able to manage your Chase POS account, your product catalogue, pull reports, track your sales and more.
- Go here
- Enter your credentials and choose Sign in