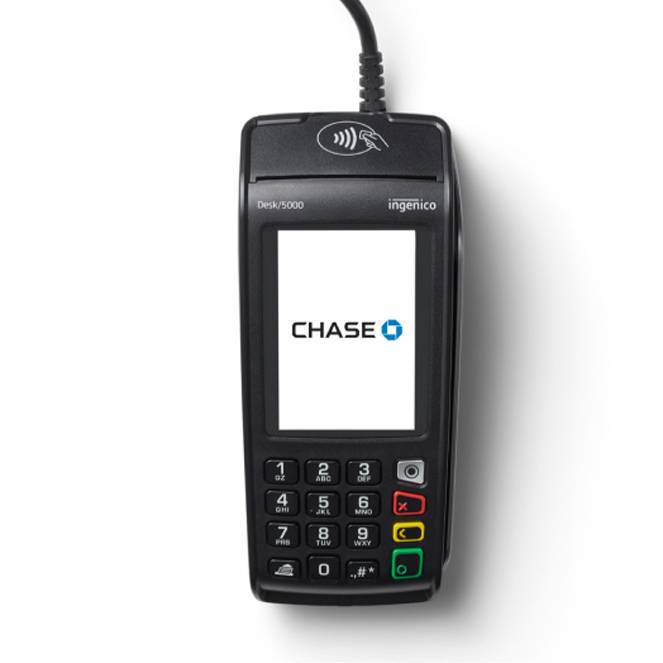
Meet your Desk/5000 terminal
The Desk/5000 is an all-in-one card reader designed to sit on your store countertop. Created to help you effortlessly process credit, debit or gift-card payments, it offers convenience of use with both a touch screen and a keypad.
Terminal features
See what you can do with the Desk/5000
- Accept card payments: contactless, chip and pin, swipe and manual entry
- Create and manage user profiles
- Set up automatic tip option
- Plug and play with any Ethernet internet connection
- See all your reporting on Resource Online

Unboxing your Desk/5000
Ready to get started? Follow these quick and easy steps.
1
Connect your device
Connect one end of the Ethernet cable to your router or internet source and the other end to the ETH port on your Magic Box.
2
Power on
Connect the power adapter to the Magic Box and then to a power outlet. Ensure it turns on. If it doesn’t automatically power up, press the green key for a few seconds.
3
Start processing
Once you’re set up and connected, you can start taking payment straight away. Other features may require some additional configuration which you can learn about below.
Desk/5000 terminal FAQs
Explore the frequently asked questions below to get set up, tailor your device, process any transactions and troubleshoot issues.
- From the Home Screen with the Chase Logo, press the green [Enter] key to access the Main Menu
- From the Main Menu, press the Sale icon
- Key in the sale amount then press the green [Enter] key to confirm
- Terminal screen may ask you to Pass the Terminal to Customer
- Terminal will ask you to confirm the sale amount. Press [1-Yes] to accept or [2-No] to cancel
- The customer may be asked to choose a Tip Method if tip is enabled
- If Tip% is chosen, choose the percentage tip from the list
- If TipAmt is chosen, key in preferred amount
- If No Tip is chosen, no tip to enter
- Tap, Insert, swipe or key in the card manually and press the green [Enter] key to continue
- If card is manually keyed in, terminal will ask for expiration date and Postal Code. Postal Code can be skipped by clicking on the green [Enter] key
- If card is inserted it may ask to enter the PIN
- Once the terminal successfully connects, it will confirm the sale is approved and print a receipt
- If customer receipts have been turned the terminal will ask if you want to print a Customer Copy?, choose [2-Yes] then press the green [Enter] key to print
To view a video of the step by step instructions, please click here.
- From the Home Screen with the Chase Logo, press the green [Enter] key to access the Main Menu
- From the Main Menu, press the Return icon
- Enter Manager ID and password then press the green [Enter] key to confirm
- Key in the sale amount then press the green [Enter] key to confirm
- Terminal screen may ask you to Pass the Terminal to Customer
- Tap, insert, swipe or key in the card information manually
- Once the terminal successfully connects, it will show Refund Confirmation on the screen
- Press the green [Enter] key to continue
- Terminal screen may ask the customer to Pass the Terminal to Merchant
- The terminal prints the receipt
To view a video of the step by step instructions, please click here.
If your batch has not yet settled, you can cancel a same-day transaction by processing a void.
- From the Home Screen with the Chase Logo, press the green [Enter] key to access the Main Menu
- From the Main Menu, press the Void icon
- Terminal will prompt on whether to void a Pre-auth or not
- Press [1] for Yes to void an open pre-auth
- Press [2] for No and follow screen prompts
- Note: This prompt appears even when there are no open pre-auth transactions
- Choose the options applicable from the Search Menu
- Press [1] to search all the transactions in the batch
- Press [2] to search transactions by the reference number
- Press [3] to search transactions by the clerk/server number
- Press [4] to search transactions by the invoice number
- Press [5] to search transactions by the last 4 digits of the card number
- Press [6] to search transactions by the PO number
- Press [7] to search transactions by the RRN number
- Press [8] to search transactions by the Approval code
- Press [9] to search transactions by the customer ref. number
- Press the green [Enter] key to continue
- Press [<] to choose the previous transaction, or [>] for the next transaction
- Press the red [Cancel] key to cancel and exit the menu
- Press [1] for Yes to confirm the transaction to be voided
- Once the terminal successfully connects, it will confirm the void is approved and print a receipt
If you do not wish to charge a customer’s card directly but want to ensure they have the funds available to pay, you can choose to place a hold on a customer’s card to obtain prior approval before completing the transaction.
- From the Home Screen with the Chase Logo, press the green [Enter] key to access the Main Menu
- From the Main Menu, swipe left twice then press the Pre-Auth icon
- Your terminal may ask you to input your manager credentials and password
- Key in the amount then press the green [Enter] key
- Terminal screen may ask you to Pass the Terminal to Customer
- Tap, Insert, Swipe or key-in the card manually. Press the green [Enter] key to continue
- If card is manually keyed-in, terminal will ask for expiration date and postal code
- The postal code can be bypassed by clicking [Enter] on screen
- Terminal will ask to confirm the amount then press [1-Yes] or [2-No] to cancel
- Terminal screen may ask the customer to Pass the Terminal to Merchant
- Once the card is validated by the terminal, it will confirm the pre-auth transaction and print a receipt
If you processed a pre-auth transaction for one of your customers, follow the steps below to complete the transaction as a sale.
- From the Home Screen with the Chase logo, press the green [Enter] key to access the Main Menu
- From the Main Menu, swipe left then press the P-A Comp icon
- Press [1-All] to search all the transactions in the batch
- Navigate through the transactions and choose the desired transaction to complete by pressing on the left [<] or right [>] key
- Press the green [Enter] key to continue or the red [Cancel] key to cancel and exit the menu
- Terminal will ask you to confirm. Press [1] to accept the original pre-auth amount or [2] to change the amount
- You can complete the transaction for any amount up to the original pre-auth amount
- Once the terminal successfully connects, it will confirm the transaction is approved and print a receipt
The bar tab feature allows your clients to keep adding to their open tab but closing a tab is required to complete the transaction.
- From the Home Screen with the Chase Logo, press the green [Enter] key to access the Main Menu
- From the Main Menu, press the [2] to close a tab
- Choose the corresponding options applicable:
- Press [1] to search all the transactions in the batch
- Press [2] to search transactions by the reference number
- Press [3] to search transactions by the clerk/server number
- Press [4] to search transactions by the invoice number
- Press [5] to search transactions by the last 4 digits of the card number
- Press [6] to search transactions by the PO number
- Press [7] to search transactions by the RRN number
- Press [8] to search transactions by the Approval code
- Press the green [Enter] key to continue
- Press [<] to choose the previous transaction, or [>] for the next transaction
- Press the red [Cancel] key to cancel and exit the menu
- Press [1-Accept] to close the tab for the original amount or [2-Change] to change the amount
- The customer is asked to confirm the amount
- Once the terminal successfully connects it will show the approval and print a receipt
Whether you have misplaced a receipt or ran out of the paper at the time of transaction, you can always reprint a receipt for any transaction you have processed.
- From the Home Screen with the Chase Logo, press the green [Enter] key to access the Main Menu
- From the Main Menu, swipe left twice then press the Reprint icon
- Press [1] for Last Receipt or [2] for Search to locate a specific transaction in the batch
- If you press [2] Search, choose the corresponding options applicable:
- Press [1] to search all the transactions in the batch
- Press [2] to search transactions by the reference number
- Press [3] to search transactions by the clerk/server number
- Press [4] to search transactions by the invoice number
- Press [5] to search transactions by the last 4 digits of the card number
- Press [6] to search transactions by the customer number
- Press [7] to search transactions by the RRN number
- Press [8] to search transactions by the Approval code
- Press [9] to search transactions by the customer ref. number
- Choose the preferred item to reprint then press [Enter]:
- Press [1] for merchant copy
- Press [2] for customer copy
- Press [3] for both
- Terminal will print the receipt
