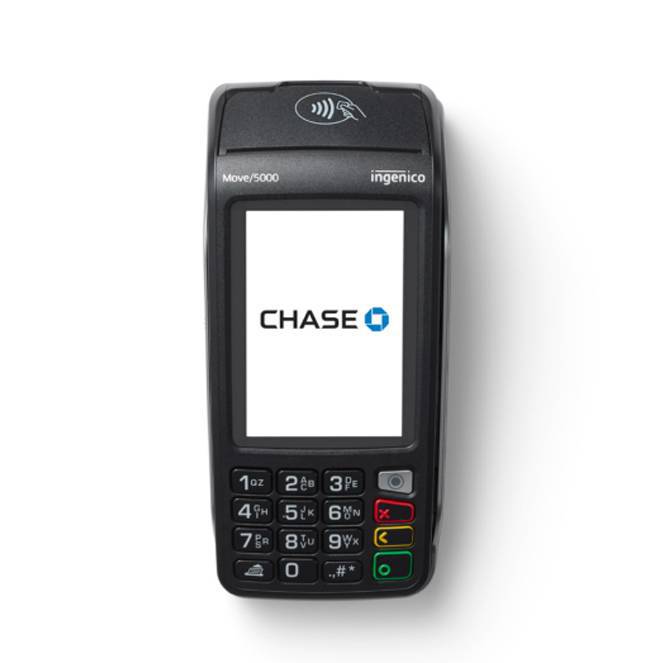
Meet your Move/5000 terminal
The Move/5000 is an all-in-one wireless card reader designed for you to move around with and take payments from anywhere in your store or restaurant. Created to help you effortlessly process credit, debit or gift-card payments, it offers convenience of use with both a touch screen and keypad.
Terminal features
See what you can do with the Move/5000
- Accept card payments: contactless, chip and pin, swipe and manual entry
- Freely move around with a Wi-Fi, 4G or Bluetooth connection
- Create and manage user profiles
- Set up automatic tip option
- See all your reporting on Resource Online

Unboxing your Move/5000
Ready to get started? Follow these quick and easy steps.
1
Make sure your device is off
If your terminal is on when you unpack it, power it off by holding the yellow and # key for a couple of seconds.
2
Connect to power
Connect the wall/power charger to the card reader directly or to the optional base.
3
Charge up
Let your terminal charge for 16 hours to ensure it is fully powered before use. After that, you’re ready to get connected and start taking payments with the instructions in the FAQs below.
Move/5000 terminal FAQs
Explore the frequently asked questions below to get set up, tailor your device, process any transactions and troubleshoot issues.
In order to start processing transactions with your Move/5000 terminal you will first need to connect it to the internet using Wi-Fi.
- From the Home Screen with the Chase logo, press the green [Enter] key to access the Main Menu
- From the Main Menu, press ADMIN with the gear icon on the bottom left of the screen
- Choose [3] for Setup Menu
- Terminal may ask for Manager ID and Password, enter if needed
- Press [2] for Communications
- Press [3] for Wi-Fi
- Press [1] for Wi-Fi to enable if disabled
- Choose [1] for Wi-Fi Easy Conn and the terminal will search for available networks
- Enter your Wi-Fi password then press [Enter]
- Press the Keyboard arrow on the screen to expand keyboard if needed
- Once set-up is completed, the terminal will display Connection to Network Succeeded
To view a video of the step by step instructions, please click here.
As an additional safety feature and measure against fraud, certain functionalities on your terminal are protected by a user ID and password. Whenever you access one of those functionalities it will ask you for a password. Follow the steps below to set up your Manager ID and password.
- From the Home Screen with the Chase Logo, press the green [Enter] key to access the Main Menu
- From the Main Menu, press ADMIN with the gear icon on the bottom left of the screen
- Press [6] for Security
- Terminal will ask you for a password to be entered. Contact Chase Payment Solutions to get a Dynamic Password. Enter Dynamic Password provided, then press [Enter] to confirm
- Press [1] for Supervisor/Manager
- Press [1] for Add User then click on Manager or Supervisor as desired
- Enter a number for Manager/Supervisor ID
- Must be a maximum of seven characters
- Enter a Manager/Supervisor Name
- Must be a maximum of 10 characters
- Create password and type it in the Enter Password field
- Passwords must be exactly seven characters and must include minimum of one number/alpha character
- Re-type the seven digit alphanumeric password you have just created
- Tap the green [Enter] button on the screen or the green [Enter] key on the keypad to save the information. Terminal will confirm the User Added
- Terminal will ask if you want to add another user. If another user needs to be added, choose [1] for Yes and go through steps 7–13 again. Once done, choose [2] for No
To view a video of the step by step instructions, please click here.
You can use your functional terminal base to extend the range of your terminal wireless communication. In order to do this you will need to associate your terminal to a functional base.
- Ensure that terminal is within range and is off the base
- From the Home Screen with the Chase logo, press the green [Enter] key to access the Main Menu
- From the Main Menu, press ADMIN with the gear icon on the bottom left of the screen
- Choose [3] for Setup Menu
- Enter Manager ID and Password, then press [Enter]
- Press [2] for Communications
- Press [5] for Bluetooth
- Press [1] for New Base and at this point you will be asked to dock the terminal back on its base
- Once the base is successfully connected the terminal will confirm Base Association Ok and you can now remove the terminal from the base
If your business takes tips, we usually would have discussed this prior to ordering your terminal and your Move/5000 is likely to arrive already set up with the options. However if you wish to adjust the tip options or simple enable them for the first time follow the steps below:
- From the Home Screen with the Chase Logo, press the green [Enter] key to access the Main Menu
- From the Main Menu, press ADMIN with the gear icon on the bottom left of the screen
- Press [3] for Setup Menu
- Enter Manager ID and Password then press [Enter]
- Press [4] for Trans Option
- Press [5] for Tip Options
- Press [1] for Tip
- Choose the desired tip prompt option then press [Enter]
Note: If the options are enabled directly on the terminal, you may lose them if there is an update done on the terminal. To make these parameters permanent, please give us a call.
- Open the paper compartment by gently lifting the paper cover latch at the top of the terminal
- Insert the roll of paper with the loose end unrolling the bottom of roll toward the back end of the terminal
- Ensure you are using an appropriate thermal paper roll
- If the paper is installed backward, your paper will print blank as it requires the thermal glossy side to print
- Unroll enough paper to extend it slightly over the top of the lid
- Close the lid and press down to snap it back into place, so that the extended paper is pressed securely against the closed lid
- The paper should unroll back over the top of the printer, not unroll over the screen
- Once closed you can advance the paper using the Advance paper feed key on the bottom left of your keypad
Note: if you need to order more paper for your printer or any other accessories, click here to learn more.
